

Replacing a broken irrigation fitting is a task that many farmers, gardeners, and irrigation system installers may encounter. As an irrigation fittings supplier, I understand the importance of having the right knowledge and tools to handle such situations efficiently. In this blog post, I'll guide you through the process of replacing a broken irrigation fitting, from identifying the problem to selecting the appropriate replacement parts.
Step 1: Identify the Problem
The first step in replacing a broken irrigation fitting is to identify the problem. This may seem obvious, but it's important to be as specific as possible. Look for signs of damage such as cracks, leaks, or loose connections. Check the fitting itself, as well as the surrounding pipes and components. Sometimes, the problem may not be with the fitting directly, but with a related part such as a valve or a coupling.
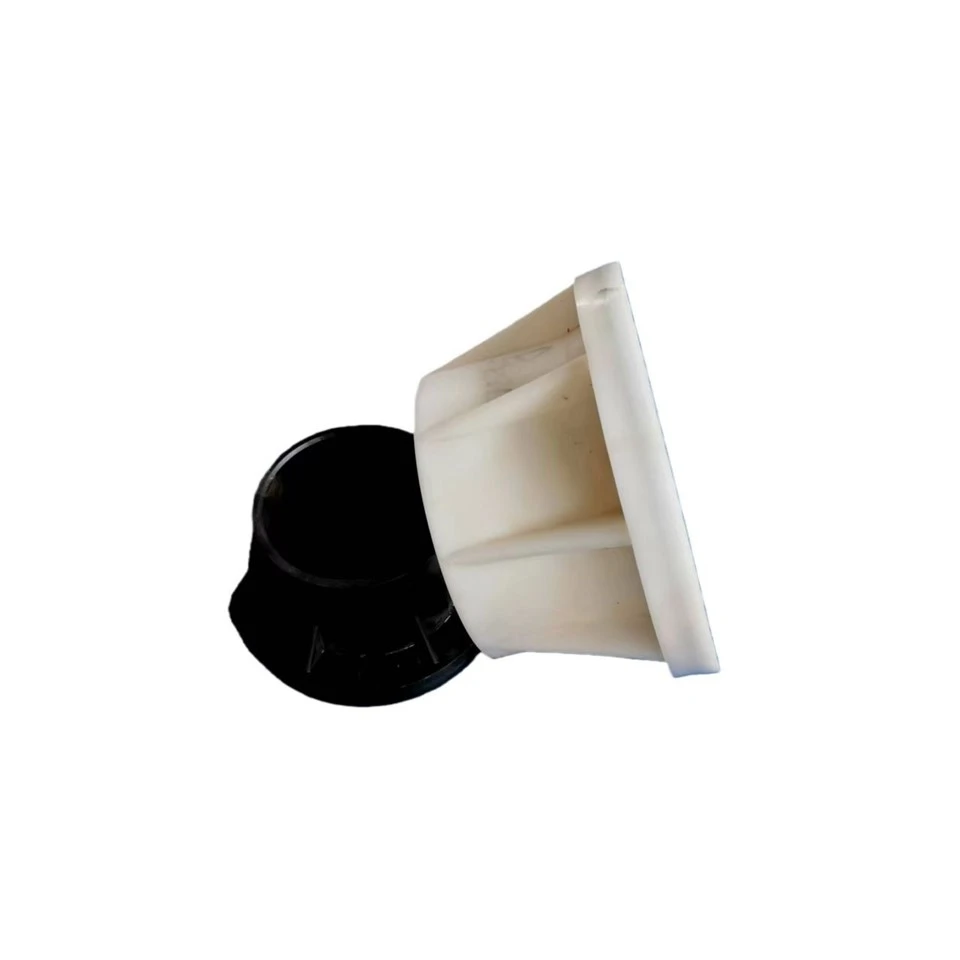
Once you've identified the problem, take note of the type of fitting that needs to be replaced. There are many different types of irrigation fittings, including Agricultural Plastic Flange, Plastic Flange for Farm Irrigation Pipe, and Plastic Flange Adapter. Each type of fitting has its own unique characteristics and installation requirements, so it's important to choose the right one for your specific needs.
Step 2: Gather the Necessary Tools and Materials
Before you start replacing the fitting, you'll need to gather the necessary tools and materials. Some of the tools you may need include a pipe cutter, a wrench, a screwdriver, and a sealant. The materials you'll need will depend on the type of fitting you're replacing, but may include replacement fittings, gaskets, and pipe sections.
Make sure you have all the tools and materials you need before you start the replacement process. This will save you time and frustration later on.
Step 3: Turn Off the Water Supply
Before you start working on the irrigation system, it's important to turn off the water supply. This will prevent water from flowing through the system while you're working on it, which can make the replacement process easier and safer.
Locate the main water valve for your irrigation system and turn it off. You may also need to drain any remaining water from the system by opening the lowest point in the system, such as a drain valve or a spigot.
Step 4: Remove the Broken Fitting
Once the water supply is turned off and the system is drained, you can start removing the broken fitting. Use the appropriate tools to loosen and remove the fitting from the pipe. This may involve using a wrench to loosen the nuts or bolts that hold the fitting in place, or using a pipe cutter to cut the pipe if the fitting is welded or glued in place.
Be careful not to damage the surrounding pipes or components while you're removing the fitting. If the fitting is stuck, you may need to use a lubricant or a penetrating oil to help loosen it.
Step 5: Prepare the New Fitting
Before you install the new fitting, you'll need to prepare it for installation. This may involve cleaning the fitting and the pipe to remove any dirt, debris, or old sealant. You may also need to apply a new sealant to the fitting to ensure a tight seal.
Make sure the new fitting is the correct size and type for your irrigation system. Check the specifications of the fitting to ensure it matches the requirements of your system.
Step 6: Install the New Fitting
Once the new fitting is prepared, you can install it in place of the broken fitting. Use the appropriate tools to tighten the nuts or bolts that hold the fitting in place. Make sure the fitting is installed securely and that there are no leaks.
If the fitting is a threaded fitting, make sure you use the correct thread sealant to prevent leaks. If the fitting is a compression fitting, make sure you tighten the compression nut to the correct torque.

Step 7: Test the System
Once the new fitting is installed, it's important to test the system to make sure it's working properly. Turn on the water supply and check for any leaks or other problems. If you notice any leaks, turn off the water supply and tighten the fitting or replace the sealant as needed.
It's also a good idea to check the pressure and flow rate of the system to make sure it's operating within the recommended range. If you notice any problems with the pressure or flow rate, you may need to adjust the system or replace other components.
Step 8: Maintain the System
After you've replaced the broken fitting and tested the system, it's important to maintain the system to prevent future problems. This may involve regularly checking the system for leaks, cleaning the filters, and replacing any worn or damaged components.
By following these steps, you can replace a broken irrigation fitting quickly and easily. As an irrigation fittings supplier, I can provide you with the high-quality fittings and materials you need to keep your irrigation system running smoothly. If you have any questions or need help selecting the right fitting for your system, please don't hesitate to contact me. We're here to help you with all your irrigation needs.
References
- Irrigation Fitting Installation Guides
- Agricultural Irrigation System Maintenance Manuals


