

The installation process for electronic enclosures with multiple compartments is a crucial aspect that requires careful planning and execution. As a leading supplier of electronic enclosures, we understand the significance of providing clear guidance on this process to ensure the optimal performance and safety of your electronic components. In this blog post, we will delve into the step-by-step installation procedure for these enclosures, highlighting key considerations and best practices along the way.
Step 1: Preparation
Before you begin the installation, it is essential to gather all the necessary tools and materials. This includes a screwdriver set, drill, measuring tape, and any additional hardware specified in the enclosure's installation manual. Make sure to review the manual thoroughly to familiarize yourself with the specific requirements and instructions for your particular enclosure model. Additionally, ensure that the installation area is clean, dry, and free from any obstructions or debris that could interfere with the process.
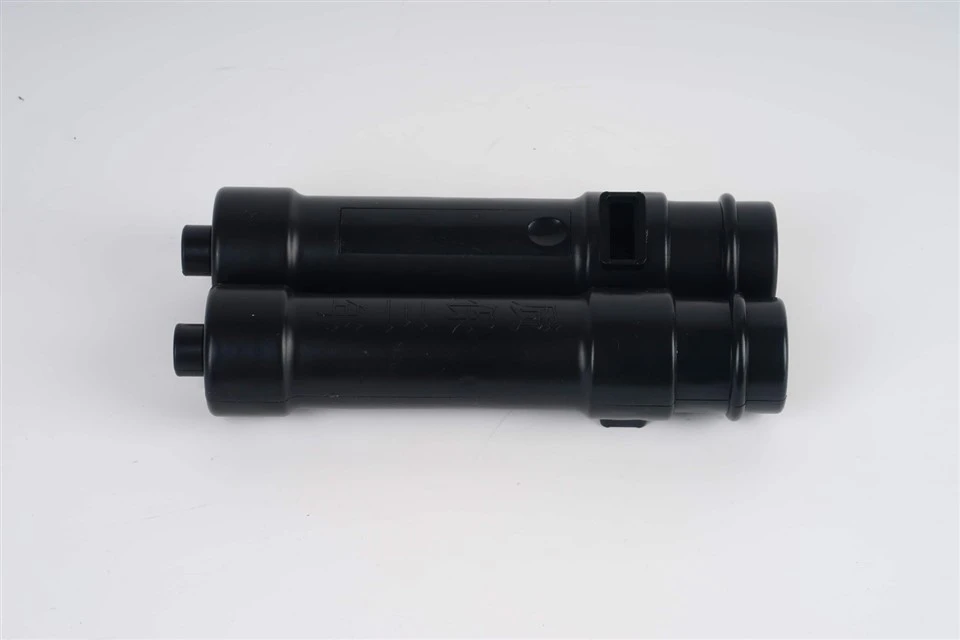
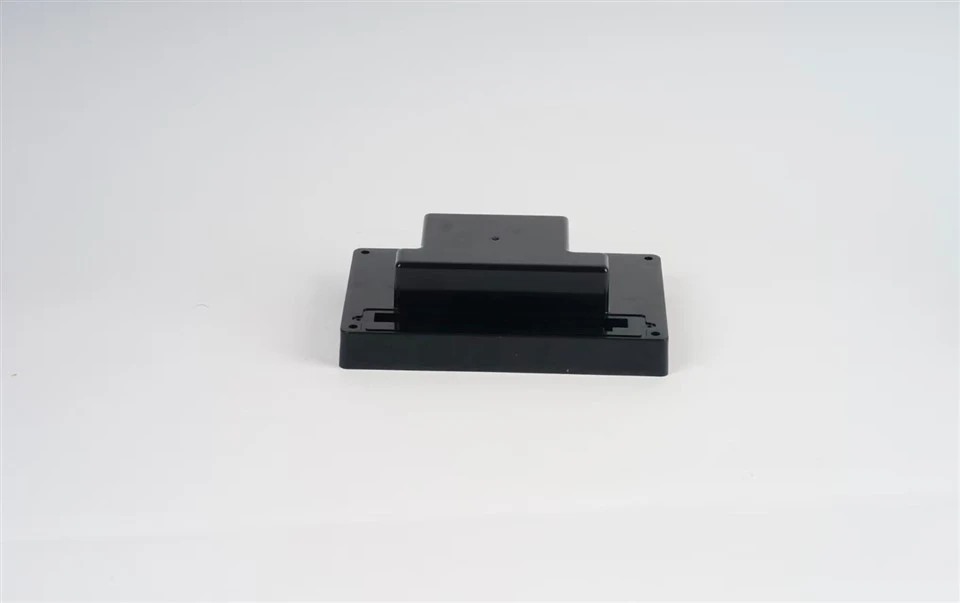
Step 2: Mounting the Enclosure
The first step in the installation process is to mount the enclosure to the desired surface. Depending on the type of enclosure and the mounting requirements, you may need to use screws, brackets, or other mounting hardware. Start by positioning the enclosure in the desired location and marking the mounting holes on the surface. Use a drill to create the holes, ensuring that they are the correct size and depth for the mounting hardware. Once the holes are drilled, insert the mounting hardware and secure the enclosure to the surface. Make sure the enclosure is level and properly aligned to prevent any stress or damage to the components inside.
Step 3: Installing the Compartments
After the enclosure is mounted, the next step is to install the individual compartments. Most electronic enclosures with multiple compartments come with pre-cut openings or slots for easy installation. Start by removing the protective covers or panels from the compartments and aligning them with the corresponding openings in the enclosure. Use screws or other fasteners to secure the compartments in place, making sure they are tightly fitted and properly aligned. Pay attention to any specific instructions or guidelines provided in the installation manual regarding the installation of the compartments, such as the order in which they should be installed or any additional hardware that may be required.
Step 4: Wiring and Connecting Components
Once the compartments are installed, it is time to wire and connect the electronic components. Start by planning the layout of the wiring to ensure that it is organized and easily accessible. Use cable ties or other management tools to secure the wires and prevent them from becoming tangled or damaged. Make sure to follow the wiring diagrams and instructions provided in the enclosure's installation manual to ensure that the components are connected correctly and that there are no short circuits or other electrical issues. Additionally, use appropriate connectors and terminals to ensure a secure and reliable connection between the components.
Step 5: Testing and Inspection
After the wiring and component installation are complete, it is important to test and inspect the enclosure to ensure that it is functioning properly. Start by turning on the power and checking for any signs of electrical problems, such as short circuits or overheating. Use a multimeter or other testing equipment to verify the voltage and continuity of the circuits. Additionally, check the functionality of the individual components to ensure that they are working as intended. If any issues are detected, make the necessary adjustments or repairs before proceeding.
Step 6: Sealing and Finishing
Once the testing and inspection are complete, the final step is to seal and finish the enclosure. This helps to protect the components from dust, moisture, and other environmental factors. Use a silicone sealant or other appropriate sealing material to seal the edges and joints of the enclosure. Make sure to apply the sealant evenly and smoothly to ensure a tight and secure seal. Additionally, consider adding a protective coating or finish to the enclosure to enhance its durability and appearance.
Key Considerations and Best Practices
- Safety First: Always follow the safety guidelines and instructions provided in the enclosure's installation manual. Wear appropriate safety gear, such as gloves and safety glasses, to protect yourself from electrical hazards and other potential dangers.
- Proper Ventilation: Ensure that the enclosure has adequate ventilation to prevent overheating and damage to the components. Follow the manufacturer's recommendations regarding the placement and size of the ventilation openings.
- Cable Management: Keep the wiring organized and properly managed to prevent tangling and damage. Use cable ties, wire ducts, or other management tools to secure the wires and ensure that they are easily accessible for maintenance and troubleshooting.
- Grounding: Proper grounding is essential for the safety and performance of the electronic components. Make sure to follow the grounding instructions provided in the enclosure's installation manual to ensure that the enclosure is properly grounded.
- Regular Maintenance: Perform regular maintenance and inspections on the enclosure to ensure that it is functioning properly and to prevent any potential issues from developing. Check for any signs of wear and tear, damage, or loose connections, and make the necessary repairs or replacements as needed.
Conclusion
The installation process for electronic enclosures with multiple compartments requires careful planning, attention to detail, and adherence to the manufacturer's instructions. By following the step-by-step guide outlined in this blog post and considering the key considerations and best practices, you can ensure a successful installation and optimal performance of your electronic components. If you have any questions or need further assistance with the installation process, please do not hesitate to contact us. We are a leading supplier of electronic enclosures, including Plastic Rectifier Enclosure, ABS Rectifier Housing, and Medical Device Plastic Housing. Our team of experts is here to help you find the right enclosure for your needs and provide you with the support and guidance you need throughout the installation process. Contact us today to learn more about our products and services and to discuss your specific requirements.
References
- [Enclosure Installation Manuals]
- [Electrical Safety Standards]
- [Cable Management Best Practices]


